-
By:
- ruby
- No comment
cake cutting instructions
Cake Cutting Instructions: A Comprehensive Guide
Navigating the art of cake cutting ensures everyone receives an equal portion, whether dealing with a towering tiered creation or a simple sheet cake.
Mastering techniques like the grid method, especially for larger cakes, guarantees precise slices, diverging from traditional wedge approaches.
This guide details methods for various cake shapes, offering insights into serving sizes and tackling cakes with fillings or frozen consistencies.
Understanding Cake Shapes and Cutting Methods
The approach to cutting a cake is fundamentally dictated by its shape and size. Traditional wedges work well for smaller, round cakes, offering a visually appealing and straightforward method. However, as cakes increase in diameter, the wedges become unwieldy and unequal in size – the center slices are significantly larger.
For larger cakes, particularly those exceeding six inches, the grid method is highly recommended. This involves mentally dividing the cake into a grid of rectangles, ensuring each slice is consistently sized. Sheet cakes, with their rectangular form, naturally lend themselves to precise, even cuts along their length and width.
Tiered cakes present a unique challenge, requiring a stable base and careful consideration of each layer’s structure. Understanding these shape-specific methods is crucial for elegant presentation and equitable serving sizes.
The Grid Method for Large Cakes
The grid method is paramount when tackling cakes larger than six inches in diameter, ensuring consistently sized portions and avoiding the disproportionate slices inherent in traditional wedge cutting. Visualize an imaginary grid overlaid on the cake’s surface, creating a network of rectangles.
Begin by cutting vertical slices down the sides of the cake, establishing the width of each portion. Then, make horizontal cuts across the cake, completing the grid. The density of the grid – the number of rows and columns – determines the size of individual servings.
This systematic approach guarantees fairness and simplifies serving, especially for gatherings where equal portions are desired. It’s a technique favored by professionals for its precision and efficiency.
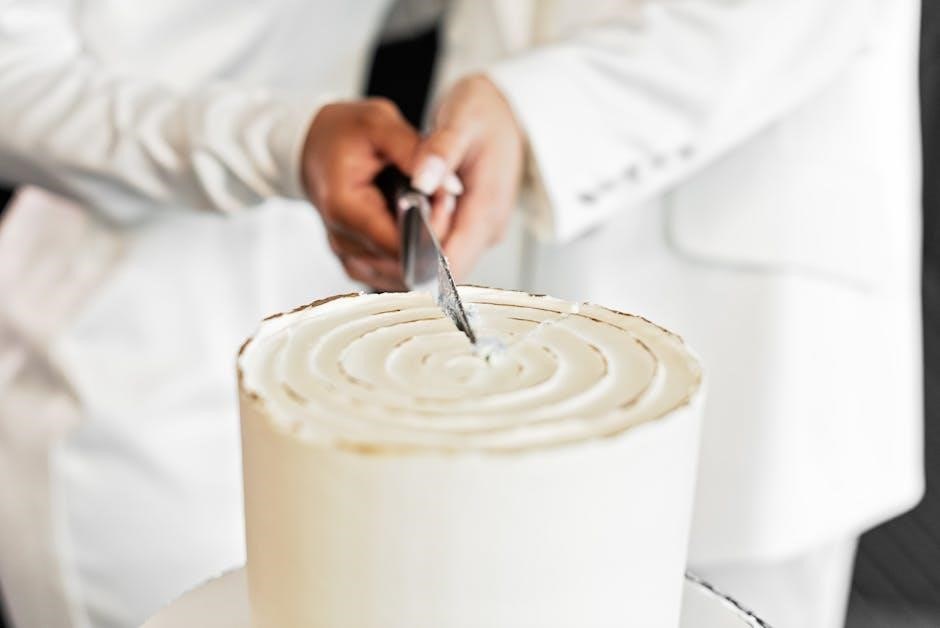
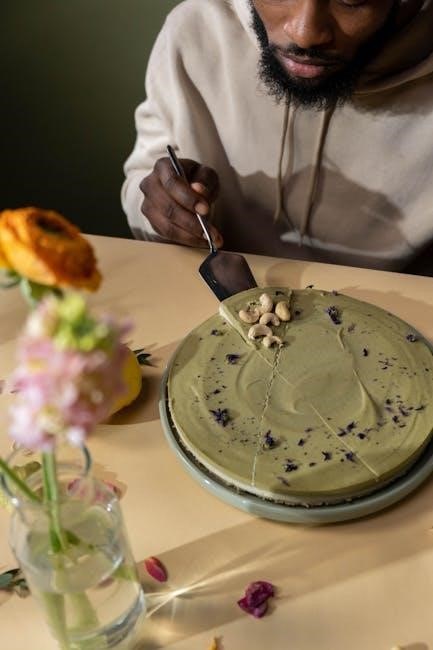
Cutting Round Cakes: Traditional Wedges
The classic method for cutting round cakes involves creating wedge-shaped slices, radiating from the center. While seemingly straightforward, achieving uniform wedges requires a steady hand and a keen eye. Begin by carefully slicing directly down through the center of the cake, establishing the first division.
Continue slicing around the cake, attempting to maintain consistent angles and widths between each wedge. This method is best suited for smaller round cakes, as the outer wedges tend to be significantly larger than those closer to the center.
For larger cakes, the wedge method can result in uneven serving sizes, making the grid method a preferable alternative. However, for simplicity and visual appeal, wedges remain a popular choice.
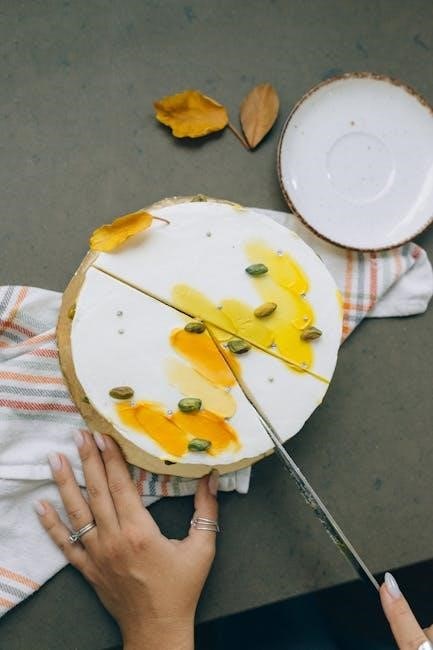
Cutting Round Cakes: The Precise Grid System
For larger round cakes, the grid system offers superior precision in portioning. Instead of wedges, envision the cake as a canvas for a grid of rectangles. Begin by slicing straight down through the center, creating two equal halves. Then, make additional parallel cuts, dividing each half into equal sections.
Next, create perpendicular cuts, intersecting the initial slices to form a grid. This method ensures that each piece is roughly the same size and shape, minimizing discrepancies in serving sizes. According to experts, anything larger than a six-inch cake benefits from this approach.
The grid system is particularly useful when serving a large crowd, guaranteeing fairness and efficiency.
Sheet Cakes: Rectangular Precision
Sheet cakes, celebrated for their ease of baking and crowd-pleasing capacity, lend themselves beautifully to rectangular precision in cutting. Their inherent shape simplifies the process, eliminating the need for complex techniques like gridding often employed with round cakes.
Begin by determining the desired slice size, considering the number of servings needed; Then, make straight, even cuts parallel to the shorter side of the cake, creating uniform rows. Subsequently, cut perpendicularly across these rows, forming neat, rectangular portions.
This straightforward method ensures consistent serving sizes and a tidy presentation, making sheet cakes an ideal choice for casual gatherings and large events.
Cutting Tiered Cakes: A Step-by-Step Approach
Cutting a tiered cake demands a methodical approach to maintain structural integrity and ensure elegant servings. Begin by carefully assessing the cake’s construction and support system – internal dowels are crucial.
Start by cutting through the top tier only, using a long, serrated knife. Once the top tier is removed, repeat the process for each subsequent tier, working downwards. Avoid applying excessive pressure, which could cause shifting or collapse.
For larger tiered cakes, consider cutting each tier separately after removal, employing the grid method for precise portions. This minimizes stress on the remaining structure and presents beautifully plated slices.
Tools for Perfect Cake Cutting
Achieving clean, professional cake cuts relies heavily on utilizing the right tools. A long serrated knife is paramount; its teeth effortlessly slice through delicate crumb structures without compressing the cake, preventing tearing and crumbling.
Complementing the knife, cake servers and spatulas are essential for lifting and transferring slices gracefully. Offset spatulas aid in smoothing frosting and creating clean edges before cutting.
For tiered cakes, a specialized cake leveler ensures even layers, simplifying the cutting process. Consider using a turntable for stability and precision during slicing, allowing for controlled rotations and consistent portion sizes.
Cake Servers and Spatulas
Cake servers and spatulas are indispensable for elegant cake service and precise cutting assistance. A traditional cake server, often featuring a triangular blade, excels at lifting and transferring individual slices without damaging their structure.
Offset spatulas, available in various sizes, prove invaluable for smoothing frosting before cutting, creating clean lines for accurate slicing. They also assist in gently separating slices from the cake base.
For delicate cakes, a thin, flexible spatula is ideal for maneuvering under slices without causing breakage. Investing in a quality set ensures a polished presentation and effortless serving experience, enhancing the overall enjoyment of the cake.
Long Serrated Knives
A long, serrated knife is arguably the most crucial tool for cleanly cutting cakes, particularly those with delicate crumb structures or multiple layers. The serrations create a sawing motion, minimizing compression and preventing the cake from becoming squashed or torn during slicing.
The length of the blade is essential; a longer knife allows for a single, smooth cut across the entire cake, reducing the need for multiple strokes. This is especially important for larger cakes where precision is key.
Ensure the knife is sharp – a dull blade will exacerbate crumbling. Gently saw through the cake, avoiding downward pressure, to achieve neat, professional-looking slices every time.
Serving Size Considerations
Accurately estimating serving sizes is vital for ensuring everyone enjoys a piece of cake without excessive waste. A standard serving is typically considered to be one inch by one inch for square or rectangular cakes, or a wedge approximately 1.5 inches wide at the base for round cakes.
However, these are merely guidelines; adjust slice sizes based on the event and anticipated appetite. Formal events often call for smaller, more refined portions, while casual gatherings allow for more generous slices.
Consider the cake’s density and richness – a dense chocolate cake may require smaller portions than a light sponge cake. Planning ahead prevents awkward situations and maximizes enjoyment for all guests.
Estimating Portions Per Cake Size
Determining the number of servings a cake will yield depends heavily on its shape and dimensions. A 6-inch round cake generally serves 8-10 people, while an 8-inch round cake comfortably feeds 12-16. For square or rectangular sheet cakes, estimate servings based on the total area.
A 9×13 inch sheet cake typically provides 24-30 servings, assuming standard 1×1 inch slices. Larger cakes, exceeding six inches in diameter, benefit from the grid method for more accurate portioning, yielding more consistent slices.
Remember to account for potential variations in slice size and guest appetites when planning. It’s always better to slightly overestimate than underestimate!
Adjusting Slice Size for Different Events
The ideal cake slice size varies significantly depending on the occasion and the overall menu. For a formal wedding reception with a multi-course meal, smaller, more delicate slices are appropriate – aiming for approximately 1.5×2 inch portions.
Conversely, a casual birthday party or potluck allows for more generous servings, perhaps 2×2.5 inches or larger. Consider the richness of the cake; denser cakes require smaller portions.
If cake is the primary dessert, larger slices are expected. Adjusting slice size ensures guests feel satisfied without being overwhelmed, contributing to a pleasant dining experience. Prioritize presentation alongside portion control!
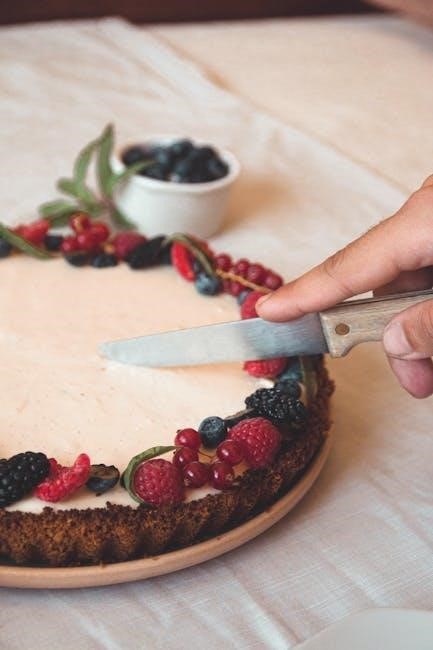
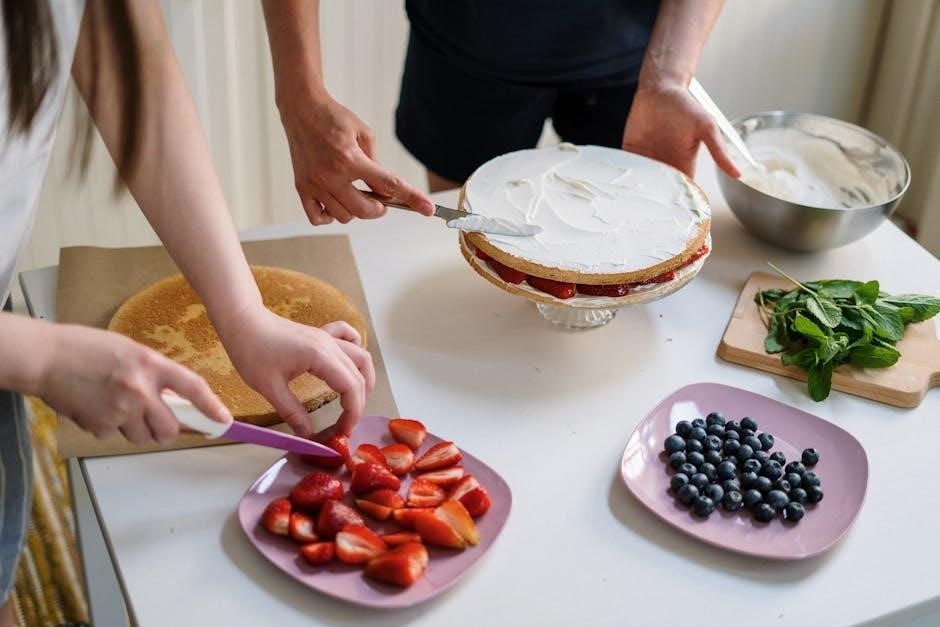
Cutting Cakes with Filling: Avoiding Smashing
Cakes laden with fillings – fruit, cream, or custard – present a unique cutting challenge. The key is a slow, deliberate approach to prevent the filling from squeezing out and distorting the cake’s appearance.
Utilize a long, serrated knife warmed under hot water and wiped dry between each slice; This minimizes drag and creates cleaner cuts; Apply gentle, downward pressure, avoiding sawing motions.
Consider chilling the cake slightly before cutting; a firmer texture provides better support. Support the cake layers with your hand while cutting to prevent shifting. Patience is paramount – prioritize neat slices over speed!
Cutting Frozen Cakes: A Helpful Technique
Cutting a frozen cake is surprisingly straightforward and often yields cleaner slices than attempting to cut a thawed one, especially for delicate sponge cakes. The frozen state provides structural integrity, minimizing crumbling.
Employ a sharp, long serrated knife. There’s no need to warm it, as the frozen cake offers sufficient resistance. Apply firm, even pressure and use a gentle sawing motion. Wipe the blade clean between each slice to maintain precision.
Allow the cake to sit at room temperature for 5-10 minutes before serving to soften slightly for easier eating. This technique is ideal for cakes with intricate layers or soft fillings.
Cutting Cakes for Special Occasions (Birthdays, Weddings)
For celebratory cakes, presentation is key, alongside equitable portioning. When candles are present, carefully cut around them, preserving the visual centerpiece for photos and wishes.
Prioritize maintaining the cake’s structural integrity, particularly with tiered designs. Support each tier as you cut to prevent shifting or collapsing. Consider the placement of decorations – delicate sugar flowers or intricate piping – and adjust your cuts accordingly.
Preserving cake layers during cutting is crucial. A gentle sawing motion with a long, serrated knife minimizes damage. Remember to communicate with anyone assisting to ensure a smooth and visually appealing result for this special event.
Candle Placement and Cutting Around Decorations
Strategic candle placement enhances the cake’s aesthetic, but impacts cutting. Avoid positioning candles directly in the intended cut lines; instead, cluster them towards the center or edges, allowing for clean slices.
When cutting, carefully maneuver around the candles, preserving their upright position for the traditional wish-blowing moment. For elaborate decorations – sugar flowers, figurines, or intricate piping – plan your initial cut to avoid direct contact.
A gentle, controlled sawing motion is vital. If a decoration is unavoidable, consider carefully removing it before cutting and re-positioning it on the served slice. Prioritize presentation and the celebratory experience.
Preserving Cake Layers During Cutting
Maintaining the integrity of cake layers is crucial, especially with tiered or filled cakes. Employ a long, serrated knife and use a gentle sawing motion rather than pressing down, which can compress the layers.
Support the upper layers with your non-dominant hand while cutting to prevent shifting or collapsing. For multi-tiered cakes, start by cutting through the top tier, then carefully separate and cut each layer individually.
If the cake contains a soft filling, chilling it briefly beforehand can firm up the filling and make cutting cleaner. A warm knife can also assist, but avoid overheating. Prioritize slow, deliberate movements for pristine slices.
Troubleshooting Common Cutting Problems
Even with careful technique, cake cutting can present challenges. Crumbling often occurs with delicate cakes; chilling briefly can help, and a warm, lightly oiled knife minimizes damage. For uneven layers, assess the height difference and adjust your cutting angle accordingly, aiming for consistent slice sizes.
If the cake sticks to the knife, try dipping it in warm water and wiping it clean between each slice. A gentle sawing motion is always preferable to forcing the knife through the cake.
Remember, patience is key! Don’t rush the process, and accept that minor imperfections are often unavoidable, especially with homemade creations.
Dealing with Crumbling Cakes
Crumbling is a frequent issue, particularly with delicate sponge or chiffon cakes. A quick chill in the refrigerator for 15-20 minutes firms up the cake, making it easier to cut cleanly. Ensure your knife is warm – a slightly warmed blade (dip in hot water, then dry) glides through more smoothly than a cold one.
Employ a gentle sawing motion rather than pressing down, which compresses and breaks the cake. Lightly oiling the knife blade between slices also reduces sticking and crumbling.
Don’t worry about minor imperfections; a little frosting can easily conceal small crumbs, maintaining a presentable appearance.
Uneven Layers and Cutting Adjustments
Uneven cake layers present a cutting challenge, requiring careful adjustments to ensure uniform slices. Begin by visually assessing the height differences and mentally mapping out your cuts. If one layer is significantly shorter, consider trimming it slightly before frosting to create a more level base.
When cutting, start with the tallest section as your guide, and adjust subsequent slices to match. A rotating cake stand is invaluable for maintaining consistency.
Don’t aim for perfect equality in every slice; a slight variation is often unnoticeable. Focus on creating portions that appear balanced and are reasonably close in size, prioritizing overall presentation.
Cake Cutting Etiquette
Proper cake cutting etiquette demonstrates respect for the occasion and guests. Traditionally, the host or guest of honor performs the initial cut, especially at celebrations like birthdays or weddings.
When serving, offer the first slice to the guest of honor, followed by other distinguished guests, before offering to everyone else. Use a cake server to lift and present slices gracefully, avoiding direct hand contact.
Ensure each slice includes a proportional amount of frosting and any decorative elements. Be mindful of dietary restrictions or allergies when distributing portions. A polite inquiry about preferences is always appreciated, fostering a welcoming atmosphere.
Storing Leftover Cake After Cutting
Proper storage preserves the freshness and flavor of leftover cake. Immediately after cutting, tightly wrap the exposed cake surface with plastic wrap to prevent drying. For longer storage, place the wrapped cake in an airtight container.
Refrigeration is recommended for cakes with perishable fillings like cream cheese frosting or fresh fruit, typically lasting 3-5 days. Cakes without such fillings can be stored at room temperature for 2-3 days, though refrigeration extends shelf life.

Frozen cake slices maintain quality for up to two months; wrap individually in plastic wrap before placing in a freezer-safe container. Thaw in the refrigerator before serving.